Use Case: Managing NAS Files via Explorer While Away from Home
If you want to manage NAS files via Explorer while away from home, there are three main methods to achieve this:
- Keep your NAS and PC constantly synced with Qsync, and when you want to access NAS files while away, you can indirectly access them by opening the files synced to your PC. (This is similar to how you access files with OneDrive or Dropbox.)
- Access via VPN, then use Explorer to access the files.
- Use port forwarding to forward the ports used by SMB/CIFS (139, 445) to your NAS, and access via your router’s global IP.
For the second method, accessing via VPN, you’ll need a VPN server, so it may not be possible to achieve this with just the NAS.
Also, the third method, port forwarding, makes your NAS shared folders accessible from anywhere in the world (authentication with username and password is required), so it’s not recommended…
Here, we’ll introduce the indirect access method using Qsync.
To use Qsync, you’ll need to set up the following steps:
- Install Qsync Central on your NAS
- Install myQNAPcloud Link on your NAS so you can access it from outside
- Install Qsync Client on your PC and set up the folders to sync
Let’s go through the setup process step by step.
Setting Up Qsync Central
Configuration must be done on the same network as your NAS (you cannot set it up while away).
Log in to your NAS settings screen and access the App Center.
Search for Qsync in the search bar, find Qsync Central, and install it.
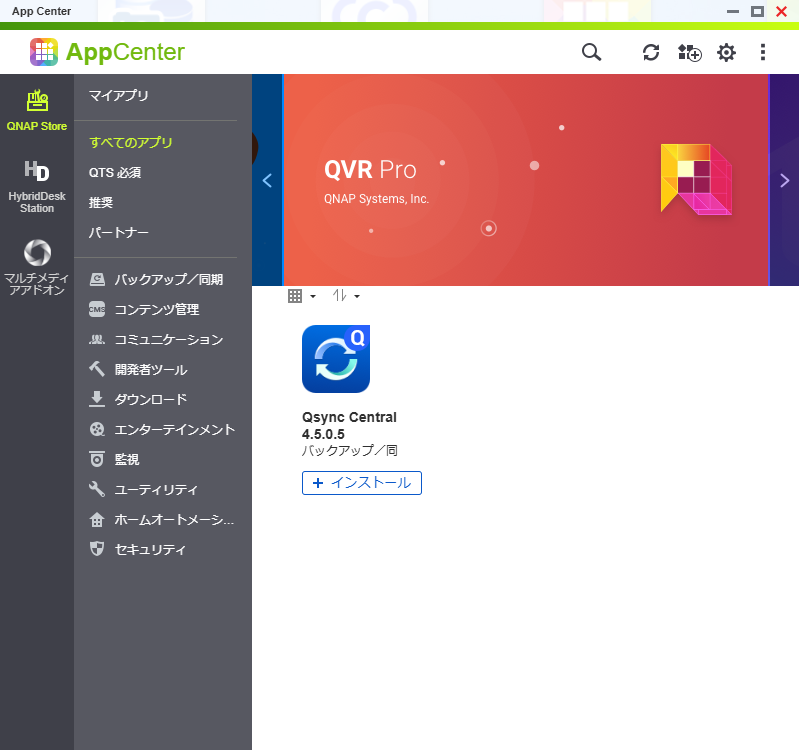
Once installation is complete, click “Open” to access the Qsync Central settings screen.
Next, set up remote access so you can connect from outside.
In the App Center, search for “myQNAPcloud Link” and install “myQNAPcloud Link”.
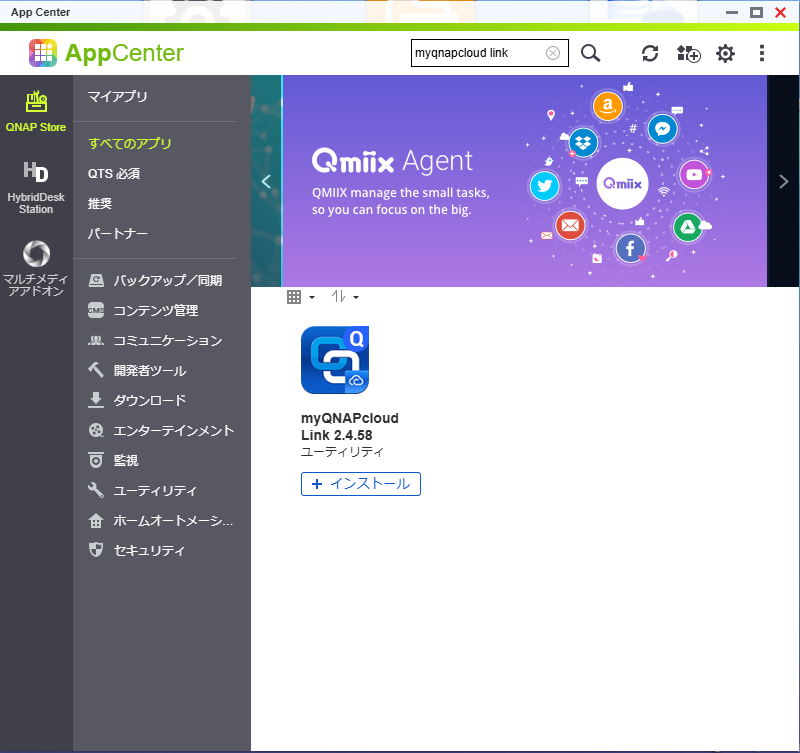
Once installation is complete, click the “Open” button to access the settings screen.
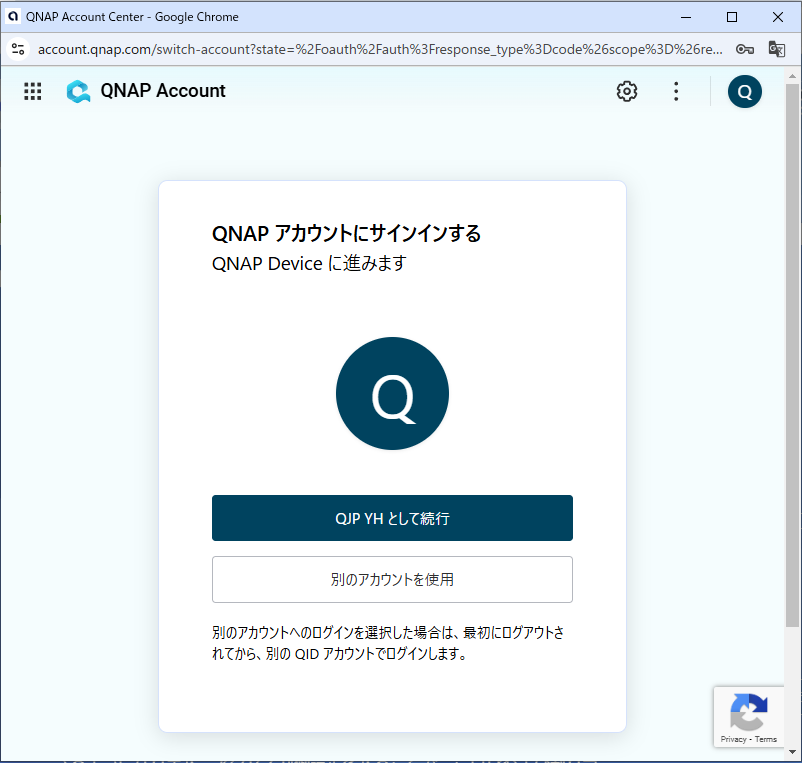
If you haven’t created a QID yet, click the “Create QNAP ID” button to create a QID. If you already have one, click “Sign In” to proceed.
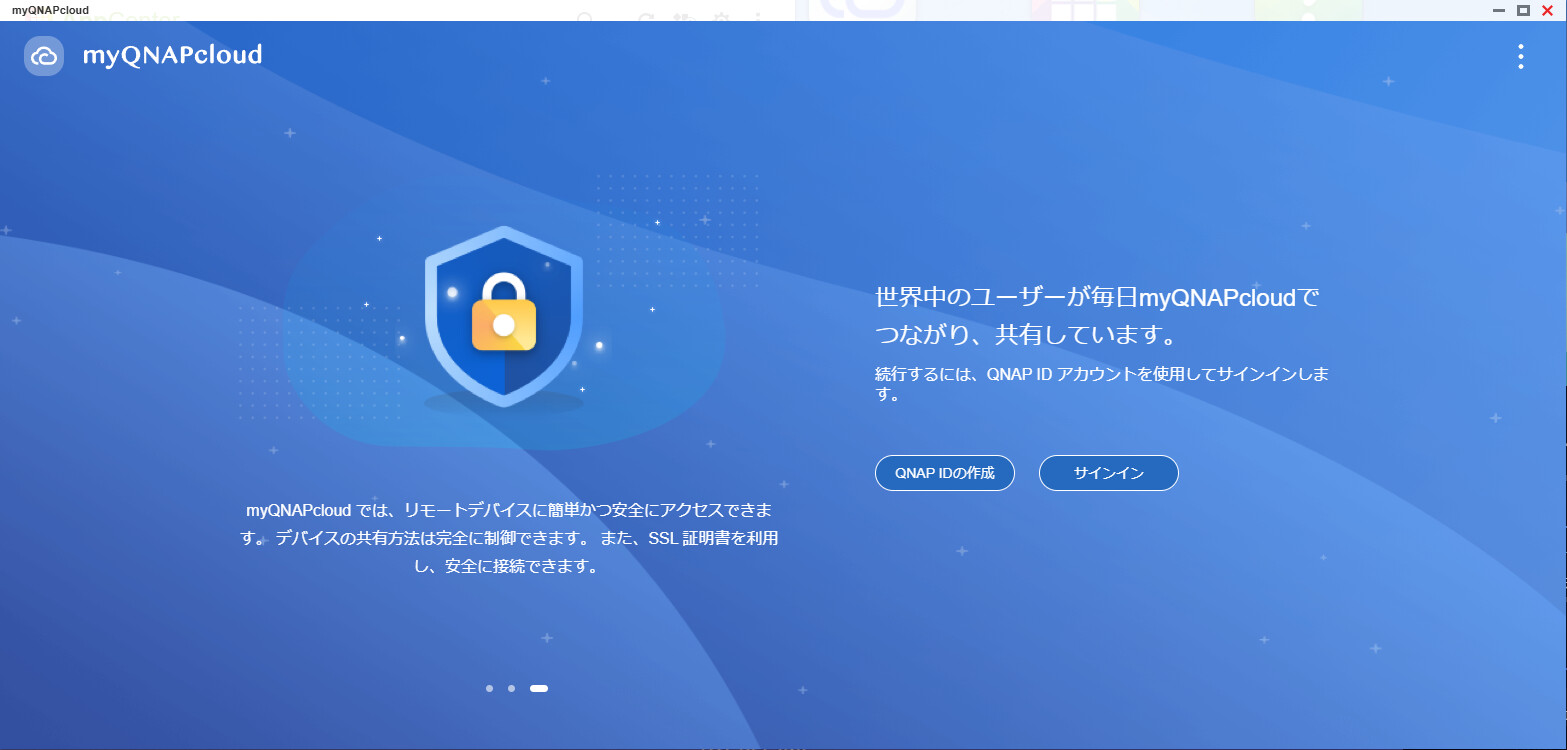
A window will pop up asking for your QID email address and password. Enter your email address and password here.
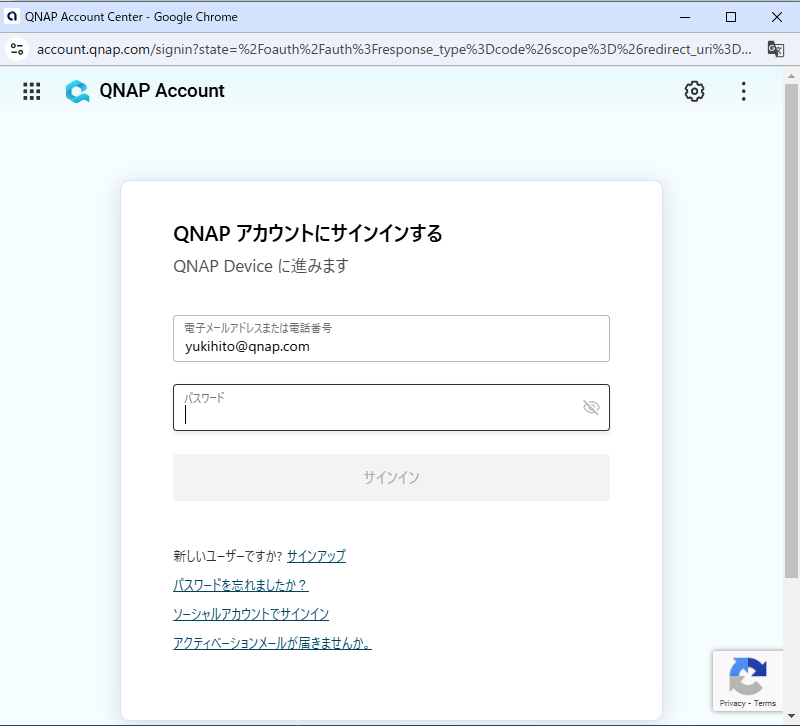
Click the “Continue” button to proceed.
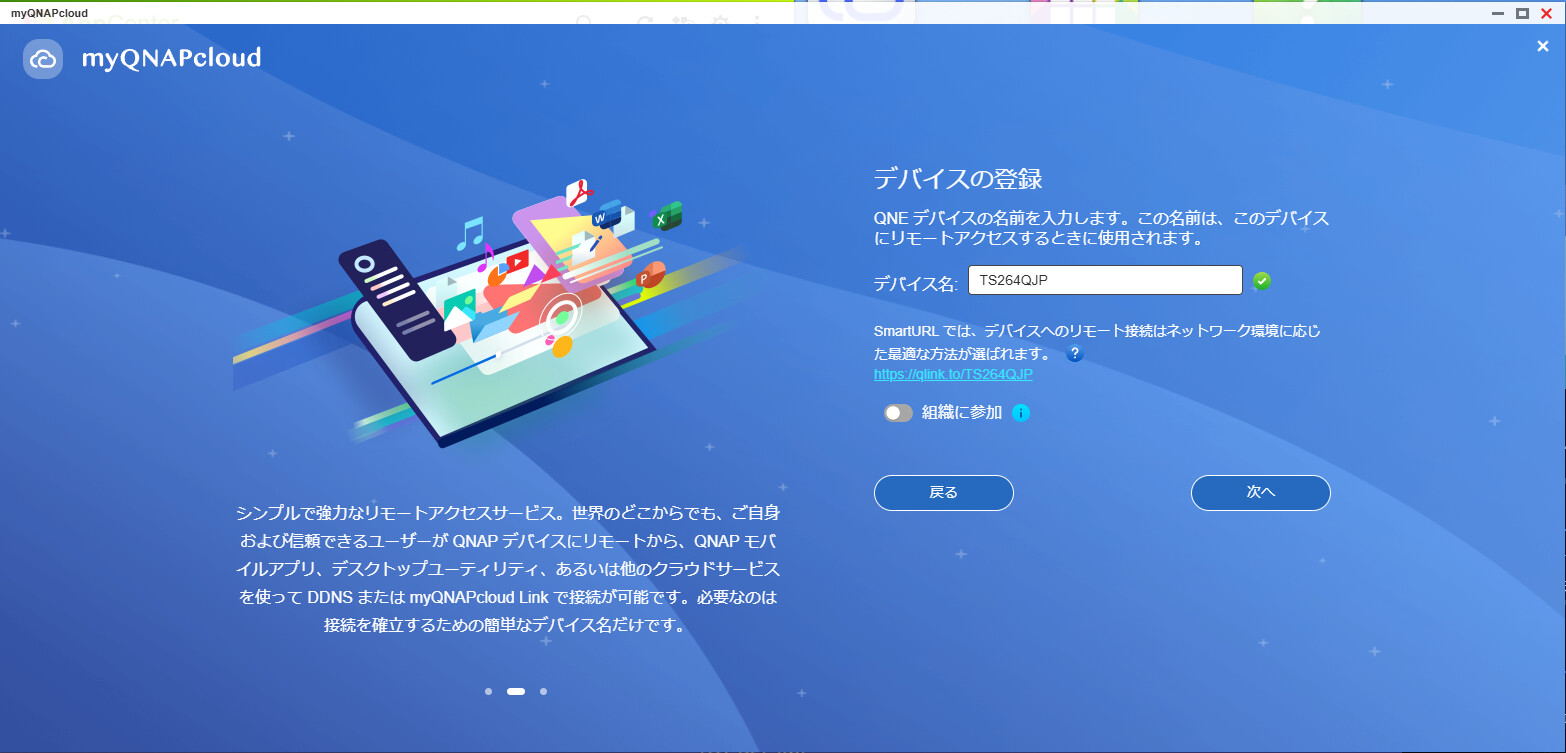
Register your device name.
(The model name plus your initials is a good, easy-to-understand choice.)
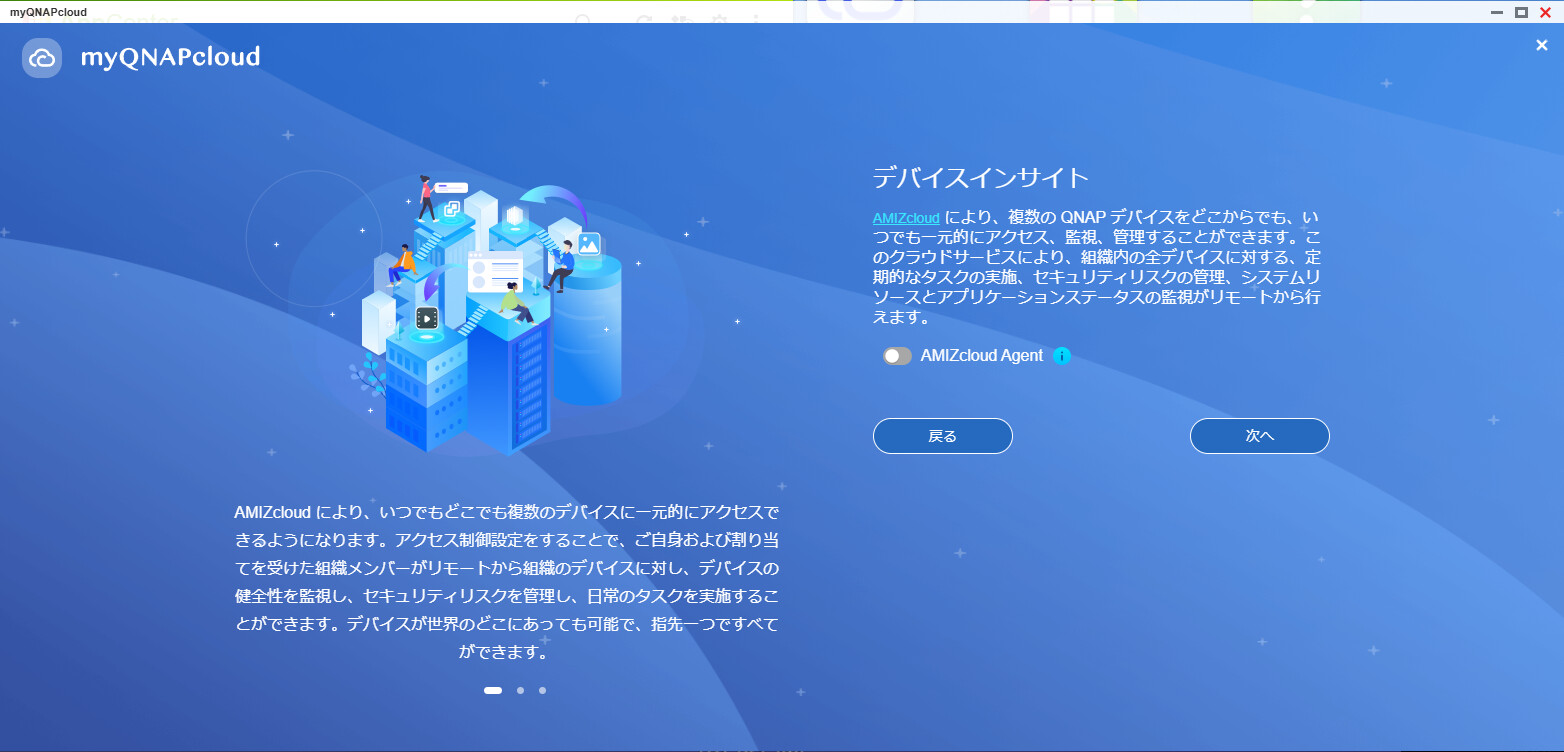
If you’re only accessing via Qsync, you don’t need to connect to AMIZcloud, so just click “Next” to proceed.
Leave the access control as “Private” and click “Apply”.
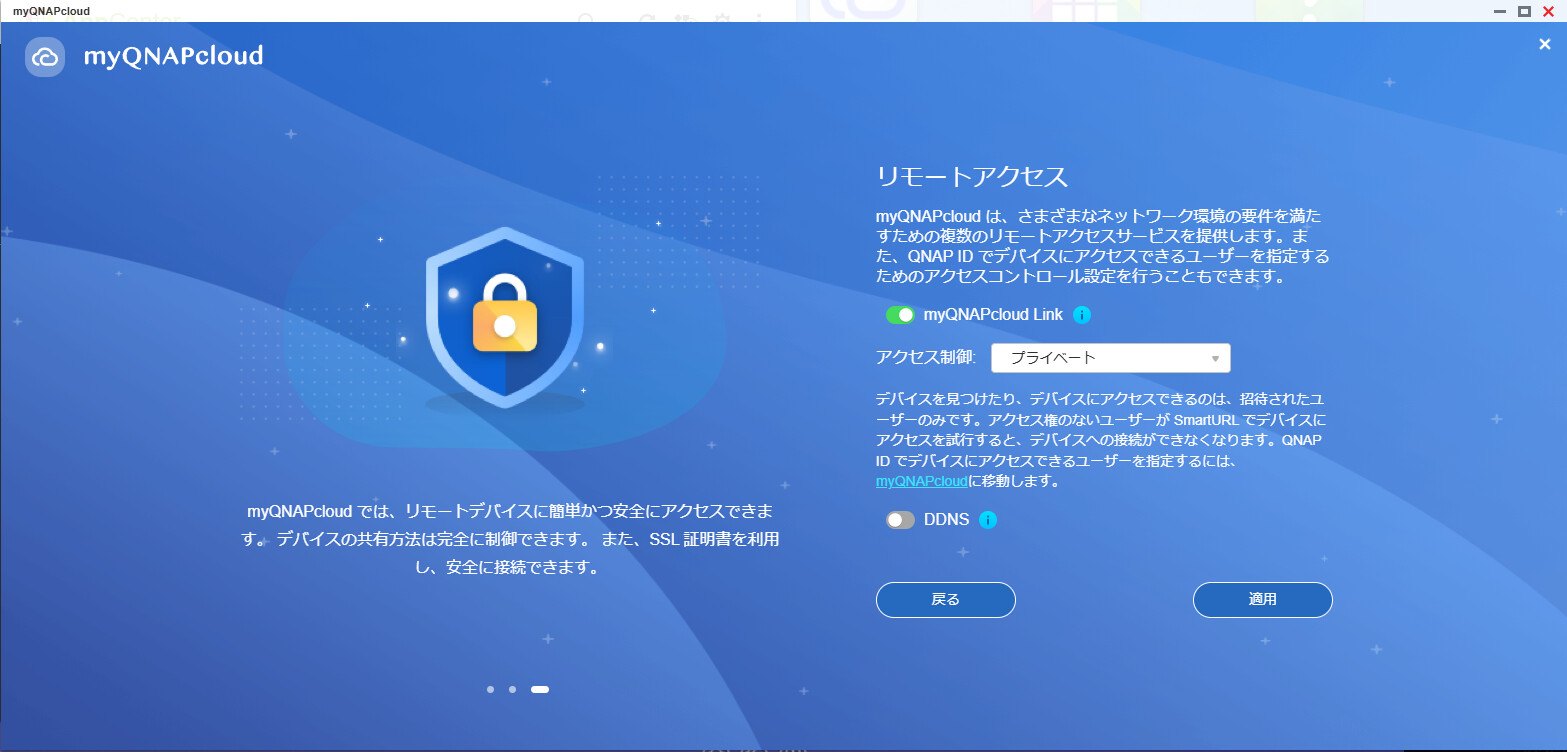
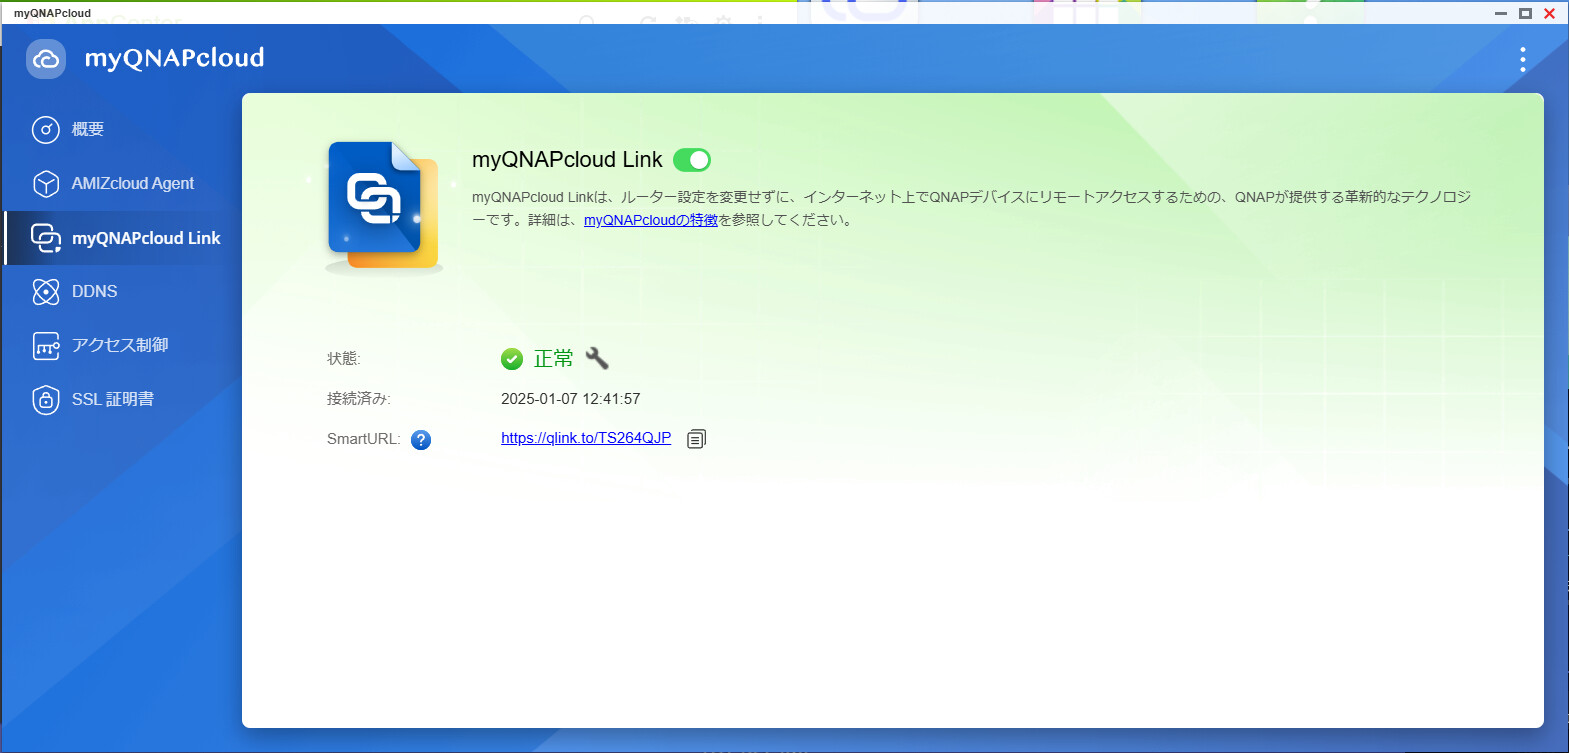
If “Normal” is displayed, you’re now set up to access safely from outside.
Next, set up your PC.
Installing and Setting Up Qsync Client
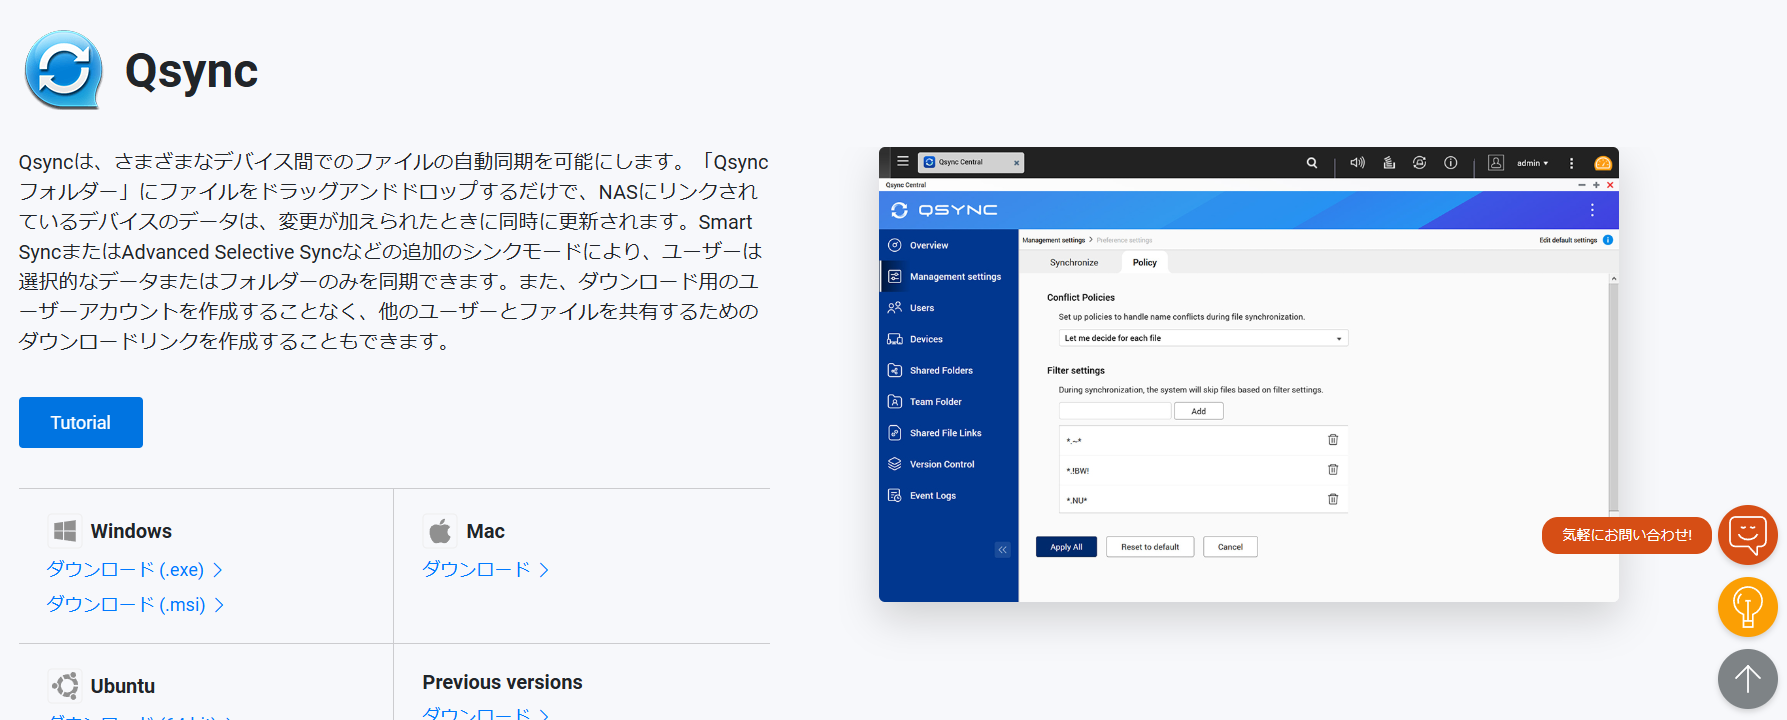
Go to the Qsync Client (commonly referred to as such, but actually Qsync) page and download the PC application.
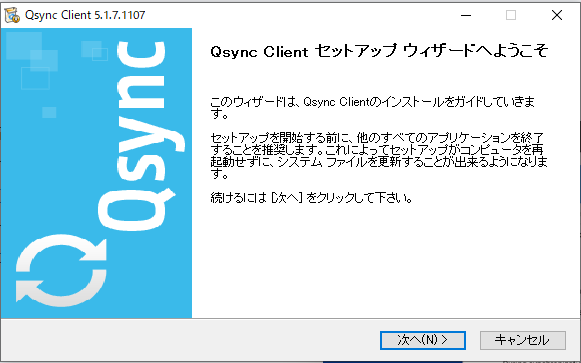
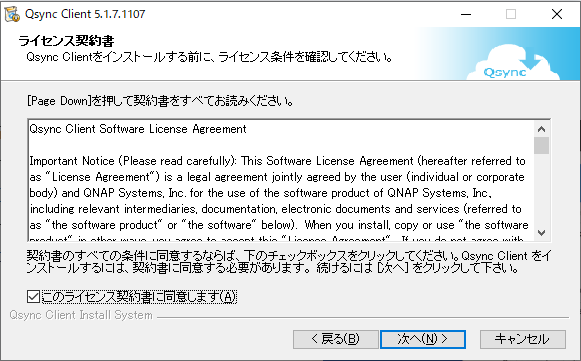
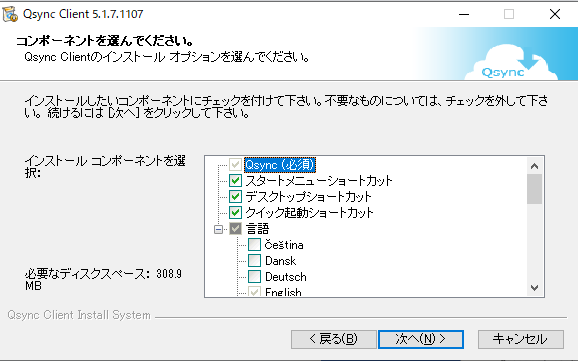
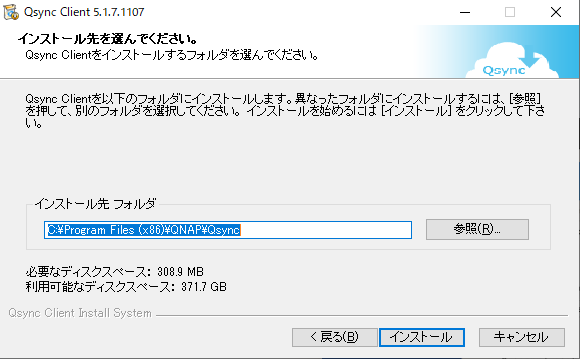
Once the download is complete, run the installer.
No special changes are needed. Just click “Next” to proceed.
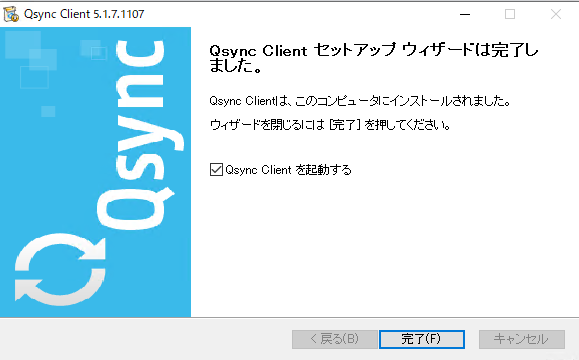
Click “Finish” to launch the Qsync setup wizard.
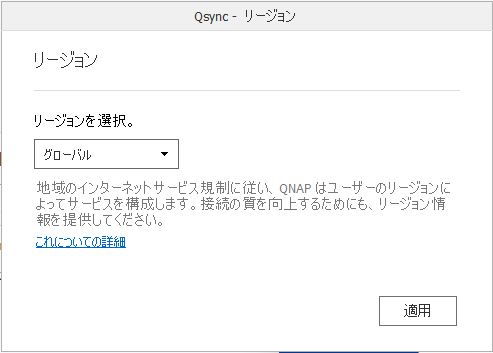
Here, select “Global” and click “Apply”.
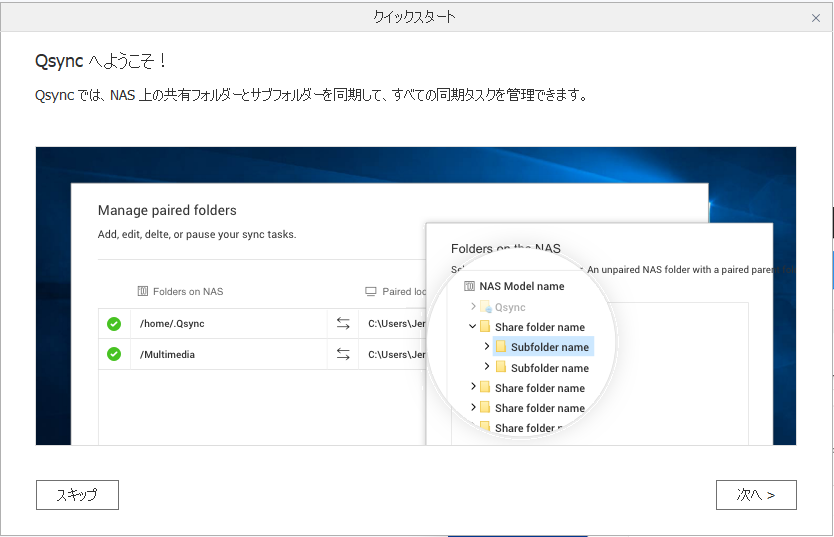
Basic usage instructions are provided, so please check them.
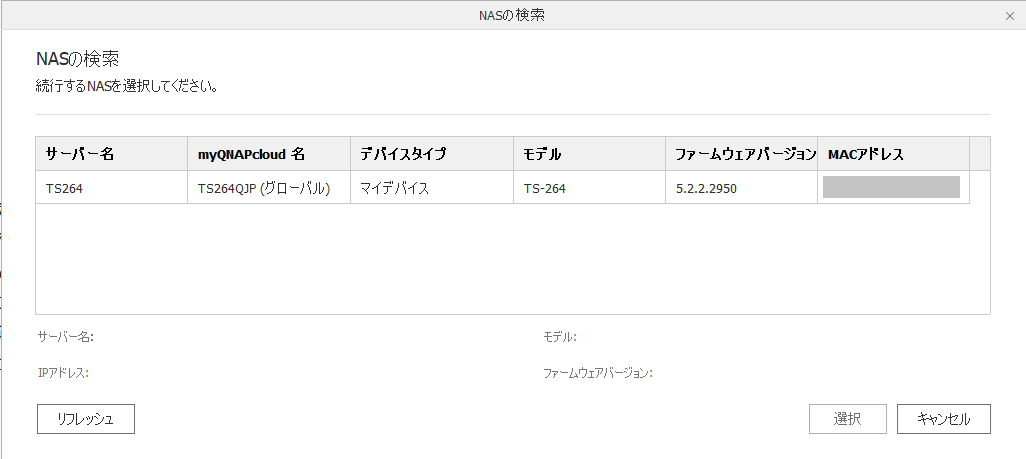
Search for your NAS using your QID.
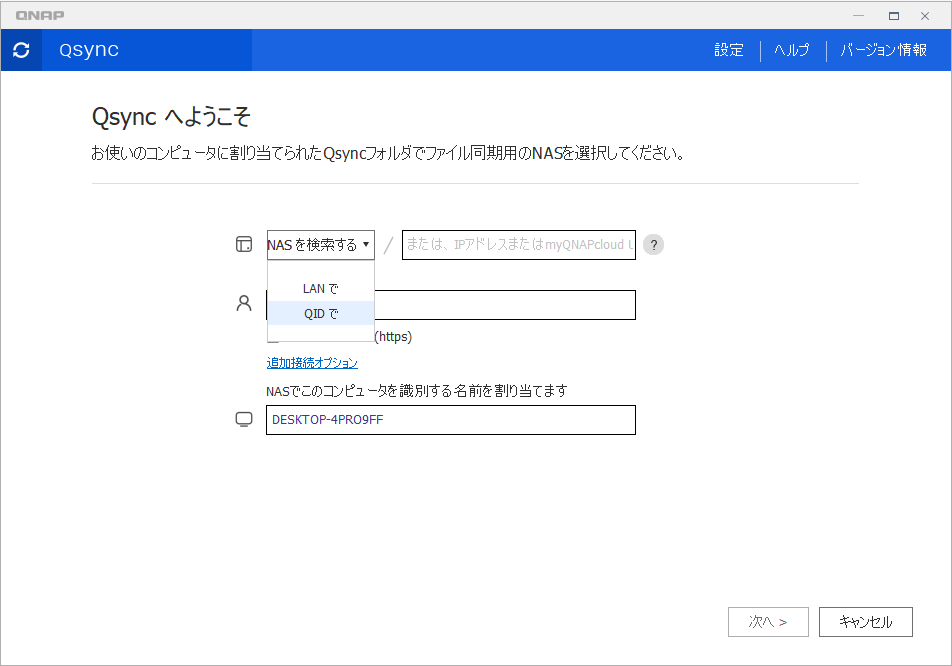
When your NAS is found, select the NAS you want to connect to with Qsync and click the “Select” button.
Enter your username (the user account on the NAS), and since you may connect from multiple PCs, give the current PC a name so you can identify it.
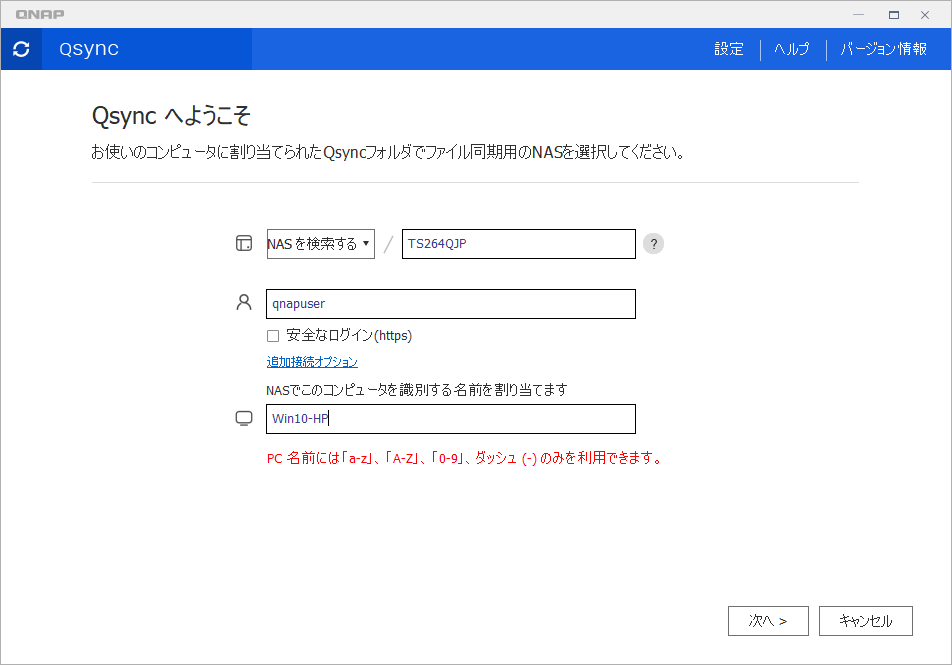
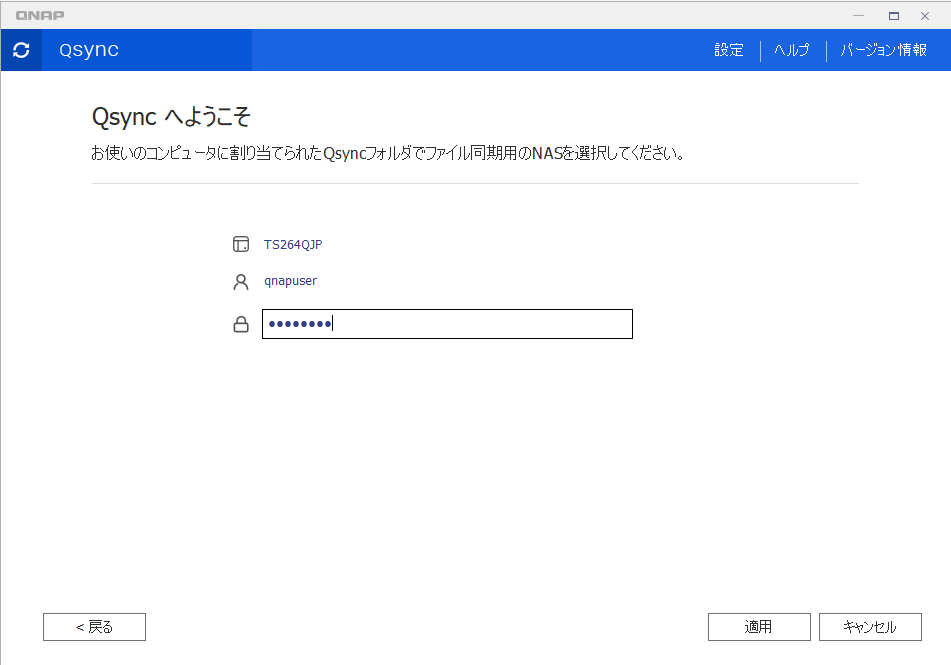
Enter the password for the NAS user account.
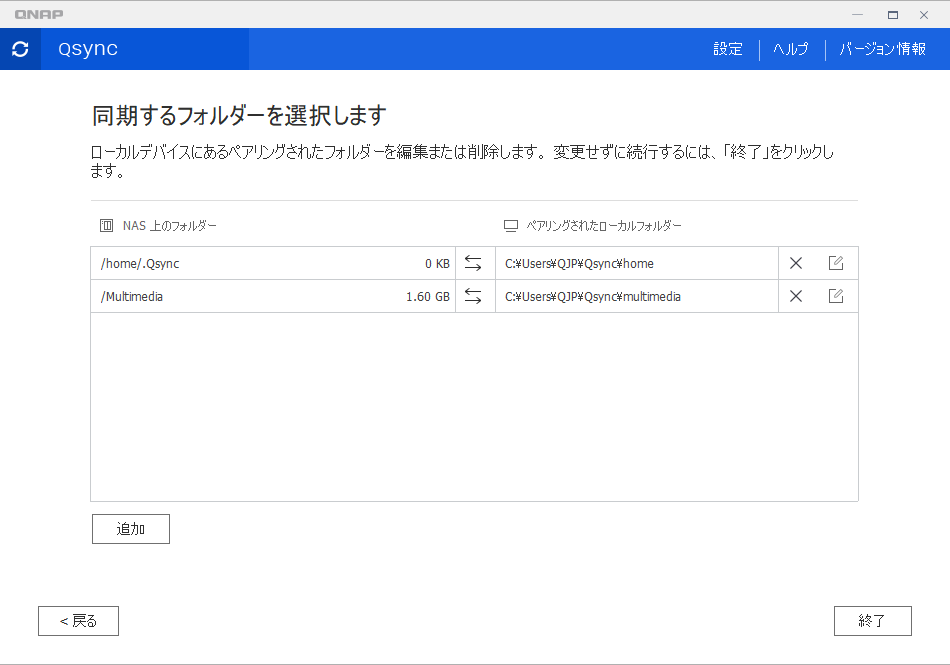
Finally, set up the folder to sync.
“/home/.Qsync” is created inside your home folder on the NAS and cannot be accessed by other users. If you select Public, other users can view the same files.
Also, the PC sync folder is set to “C:\Users\QJP\Qsync”, but since “MyDocument” is usually synced with OneDrive and others, there’s a possibility of sync conflicts, so it’s recommended to select a folder under MyDocument.
By setting it up this way, the “Multimedia” folder will also be synced under the Qsync folder.
If the status shows “All files are up to date,” the file list on your NAS is now synced to your PC.
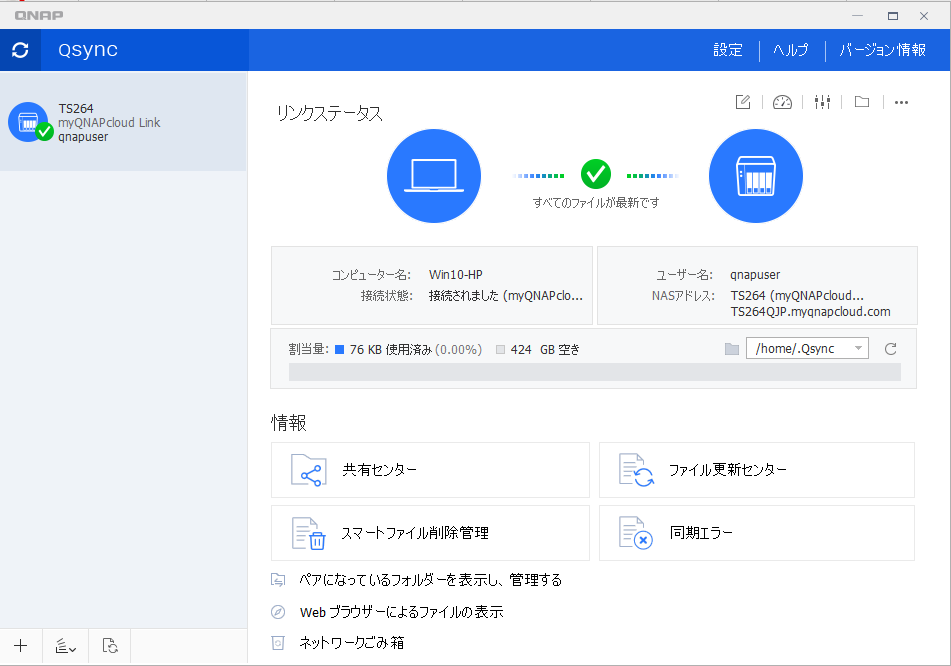
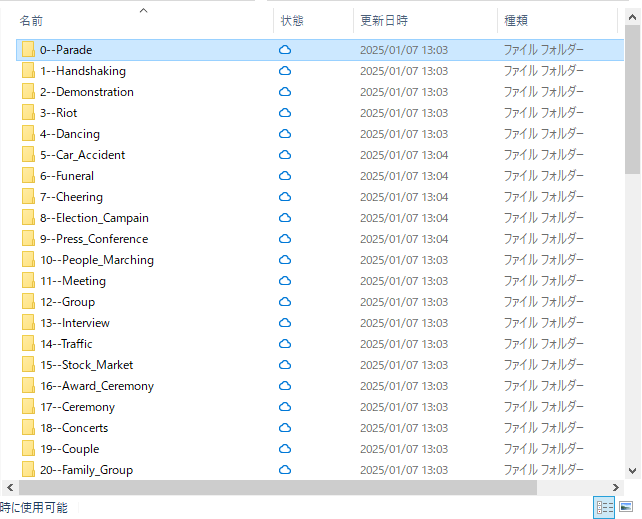
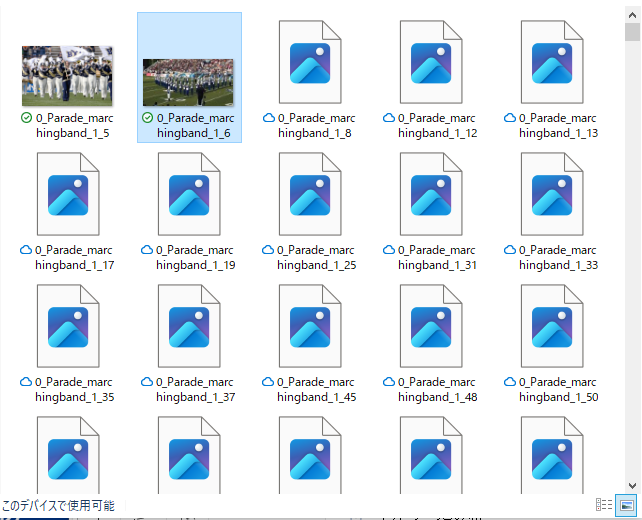
When you access the sync folder in Explorer, you’ll see that the “file status” is shown as a cloud.
When you double-click a file or otherwise access it, it will automatically download from the NAS and you’ll be able to open it.
With this, you can “always access NAS files as long as you’re connected to the network, while saving storage space.”
Summary
We’ve introduced the Qsync setup process as follows:
- Install Qsync Central on your NAS
- Install myQNAPcloud Link on your NAS so you can access it from outside
- Install Qsync Client on your PC and set up the folders to sync
There are a lot of screenshots in the setup guide, so it looks long, but in reality, installation and setup are almost a straight path.
You won’t be able to access your NAS directly from outside, but you can safely and quickly access files stored on your NAS, making it very convenient. I use it myself.
Also, files you don’t need to access won’t be downloaded and saved to your PC, so even laptops with limited internal storage can be used efficiently.
I hope you find your NAS even more convenient by using the method introduced here.